machining the MiniBoy MarkI
Posted: Sat Apr 09, 2011 4:50 pm
Here's a howto demonstrating the machining of the MiniBoy MarkI from this thread
My equipment are Sherline lathe (long bed) and mill. I'll be happy to try to answer any question about it, or the machining process demonstrated here. Note that I am in no way a machinist by trade, I learned by myself. So if some experienced machinist here want to share his knowledge and correct me, please do so I'm always happy to learn more.
If you have remarks about the missile itself, please share your thoughts in the original thread, not in this howto.
I will roughly follow this plan, scale = 1 pixel for 1/10mm.
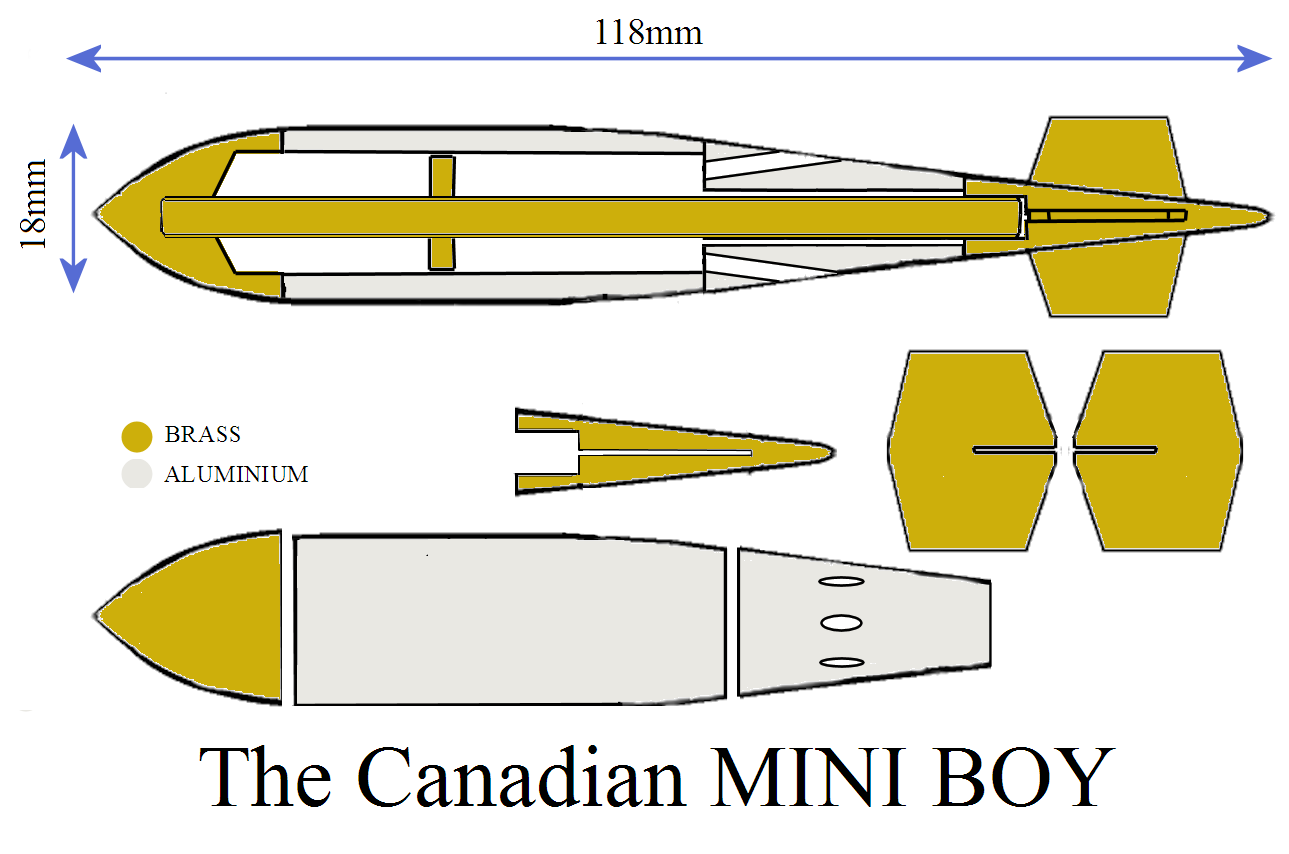
I often use this scale trick, So I can print what I want scale 10x, and just measure the sizes on paper with a simple ruler at a 10x enhanced precision (1cm=1mm)
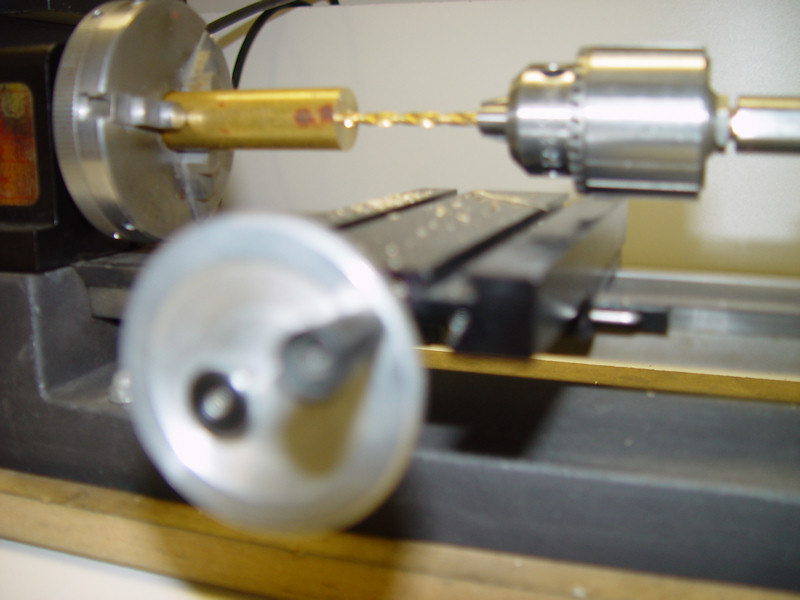
The nose is cut for a 3/4" brass bar. First, drill a hole (oops, forgot to put the macro mode on )
)
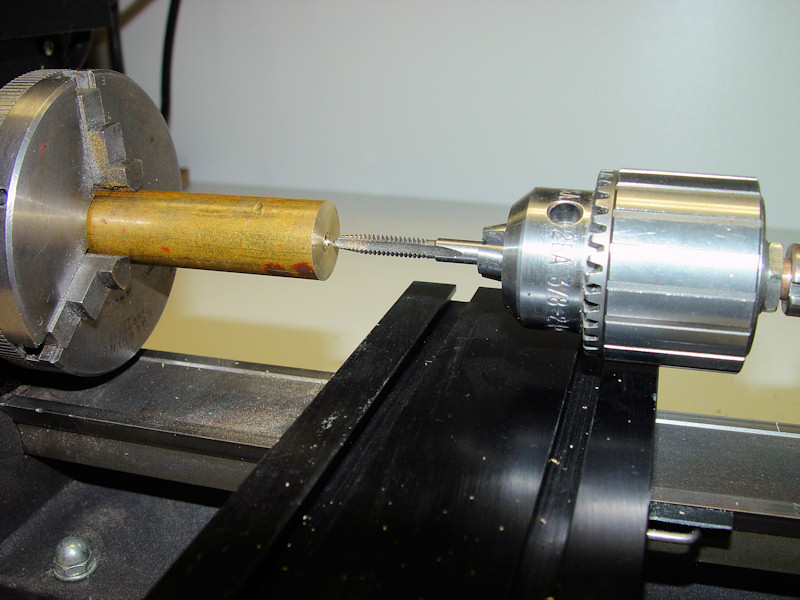
Then, tap the hole. I do that by hand as I do not have power attachment for threading. I just turn the lathe chuck by hand, pushing the tailstock that hold the tap at the same time so it goes strait in the hole.
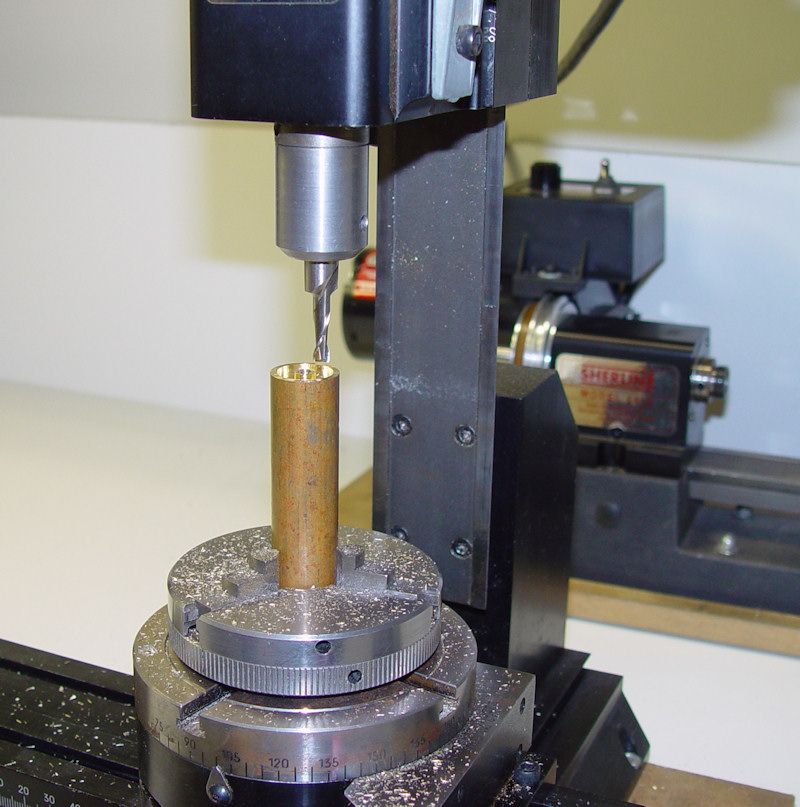
While the brass rod is still perfectly centered, I remove the chuck and put it on the mill's rotary table. So I can remove some brass, to be able to fill it with heavier material later (lead or tungsten?)
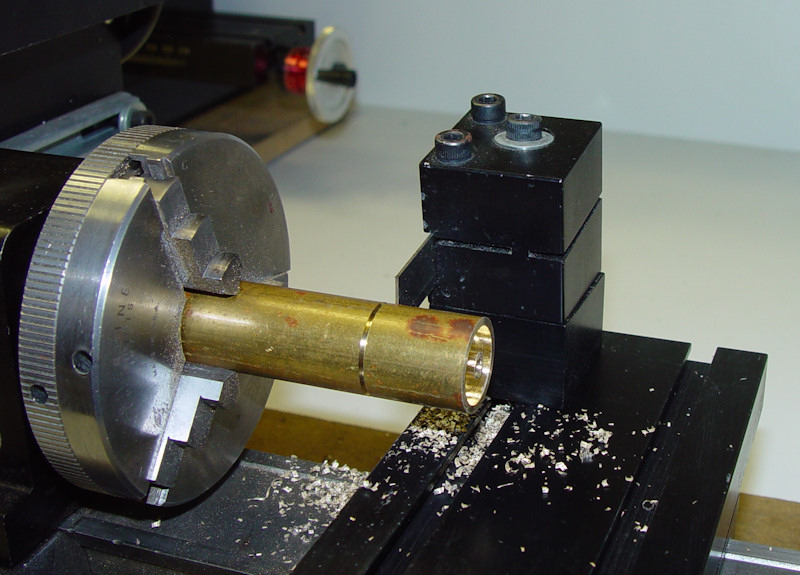
back to the lathe, I separate the proper length for the nose, using a cutting tool.
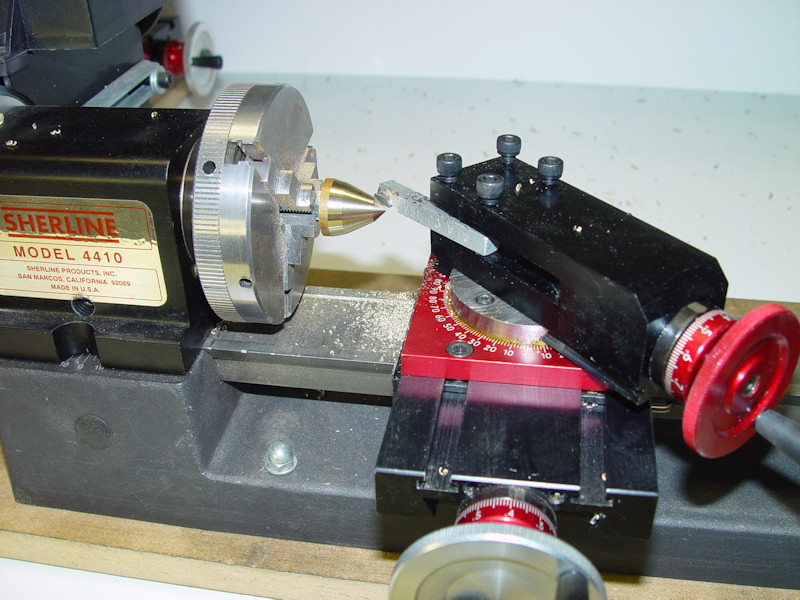
Using a compound slide to cut at an angle, I approximate the cone. Simple trigonometry gave me 3 angles, from the original drawing. To hold the nose, I just used a screw and a nut to old it. This is why the drawing was designed like that, I already had in mind the way to hold and cut with minimal efforts

A bit of sanding, and the nose is ready.

For the fins, I will use the mill. Often when I cut on the mill, I machine behind a sheet of Lexan. In particular when I use saws. Better be safe...
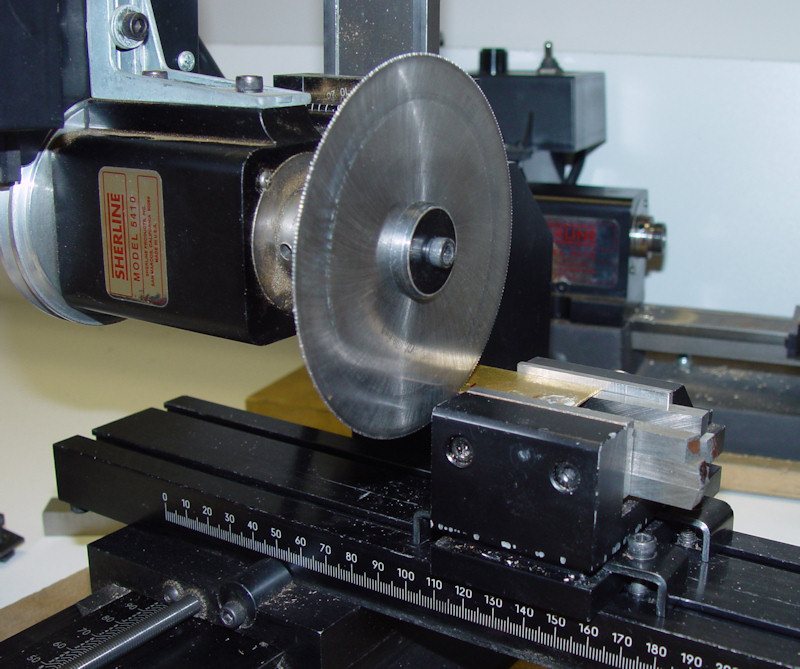
To make the fins, I use some brass flat stock. First sliced on the mill.
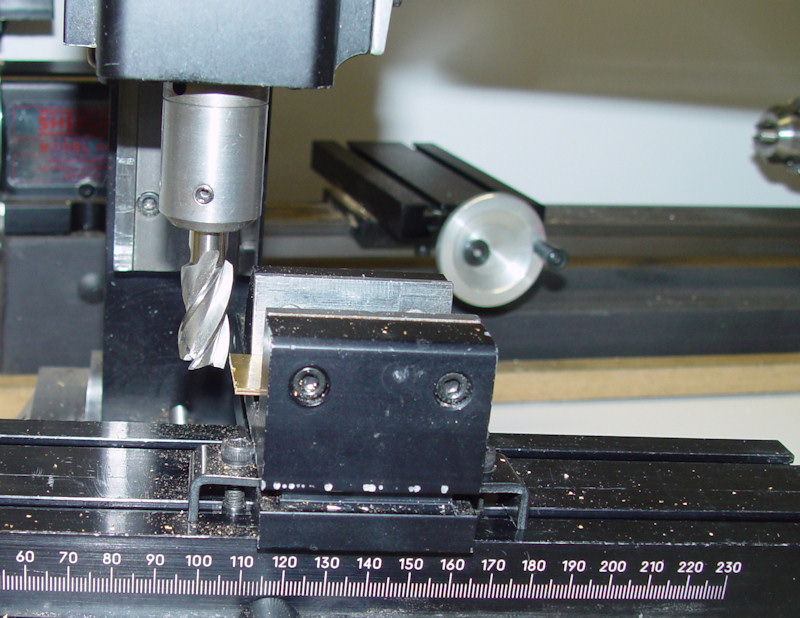
I mill it strait on all sides, both pieces at the same time.
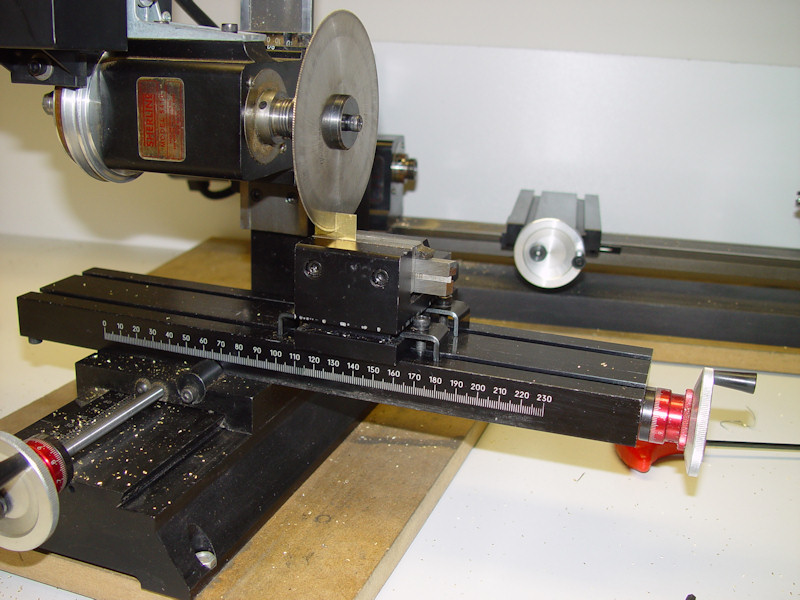
Then I slice the interlocking groove.
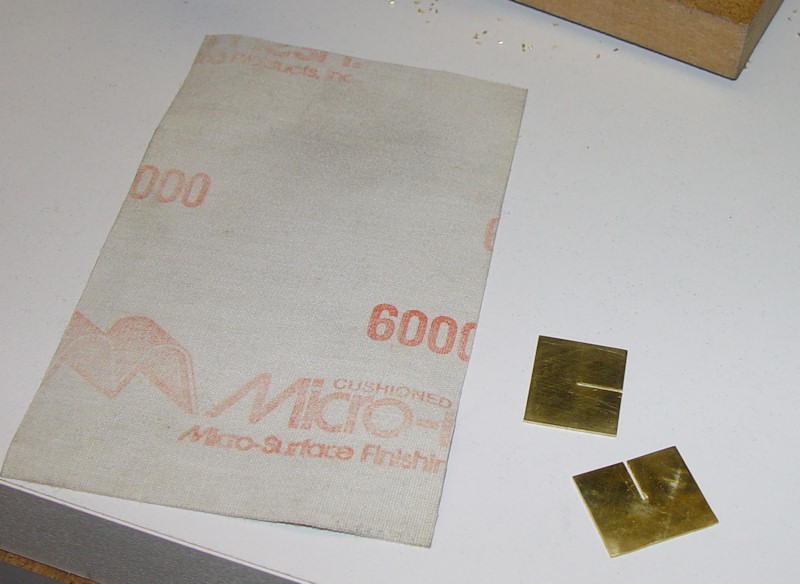
A bit of sanding to make then look pretty while they are easy to handle separately.
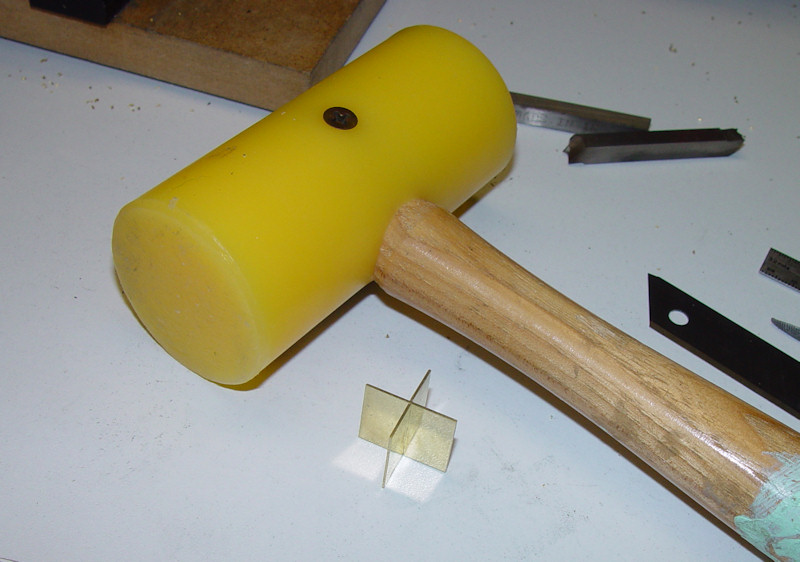
I assemble them, gently taping with a plastic hammer.
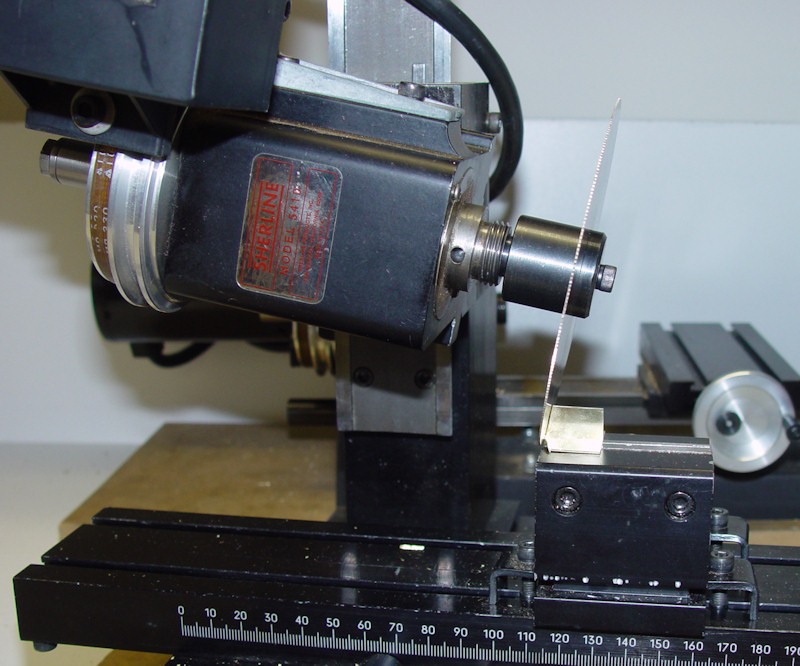
Then I cut the same angle on all sides to mimic the original drawing.
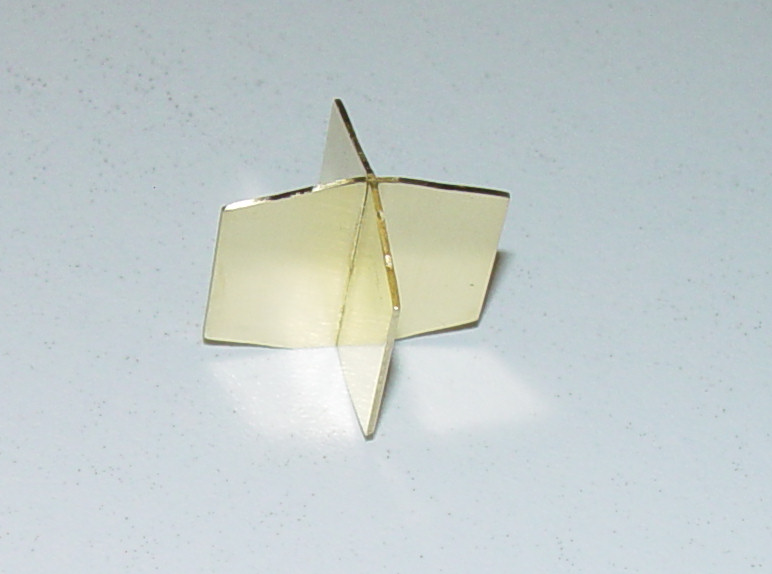
A bit more sanding, and the fins are ready. I may make then a bit more aerodynamic by removing this square edge later.
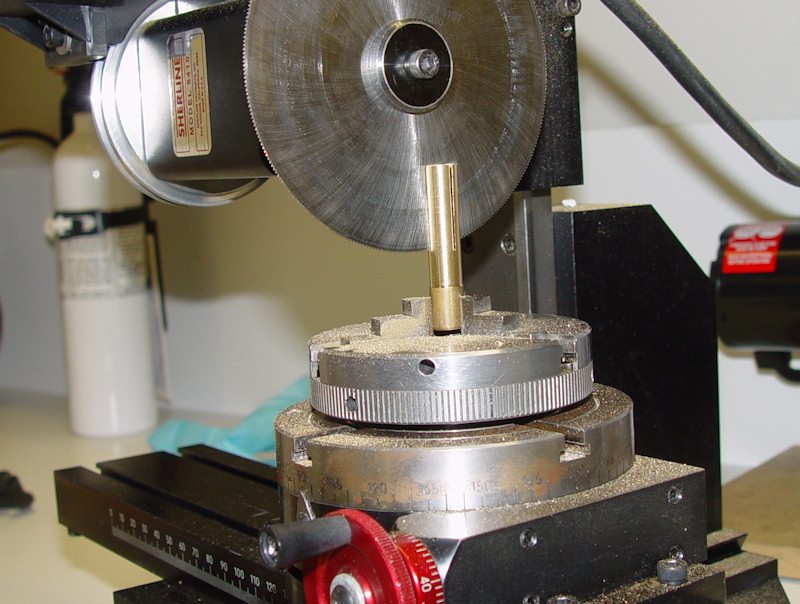
The fins tip (is there a proper name for that?). A rod if first drilled and taped on the lathe (same process as for the nose). Then a cross slice is cut on the mill.
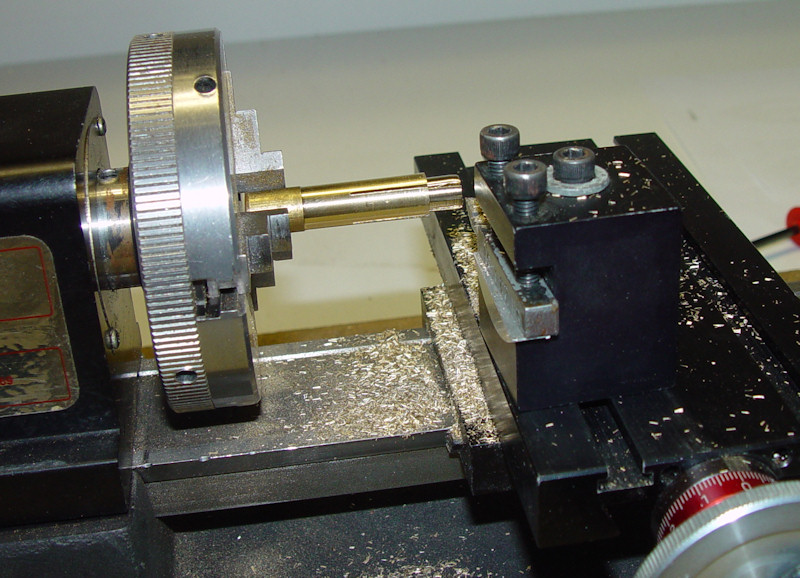
I decided I needed a reduced diameter, to increase rigidity. It would have been better planning to cut it before I made the slicing. Oh well...
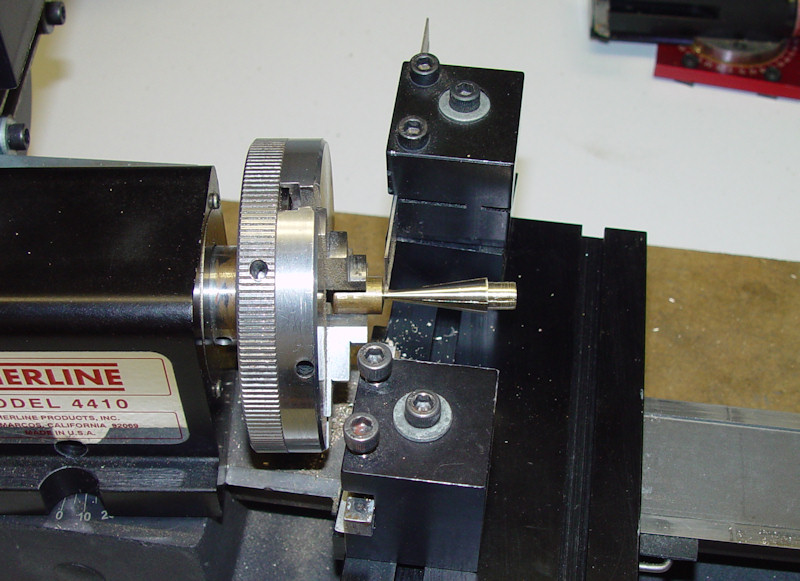
The cone is cut, this time by rotating the headstock.
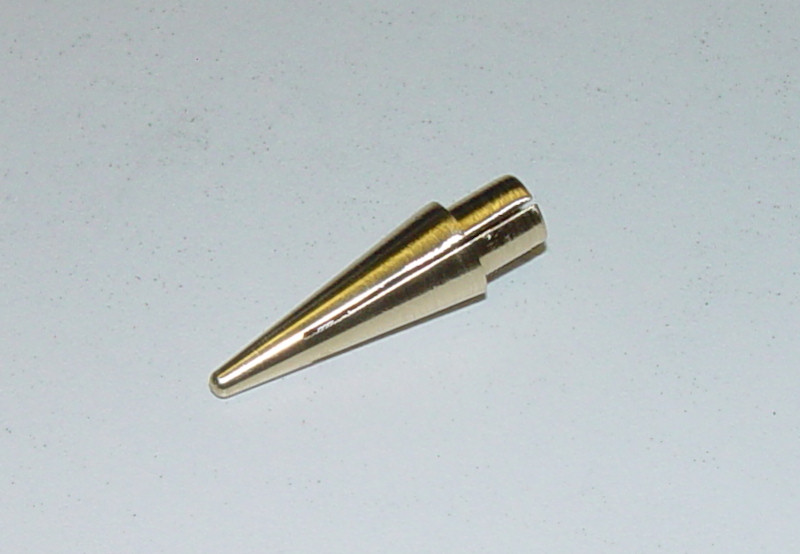
A bit of polishing, and it's ready for assembly 8)
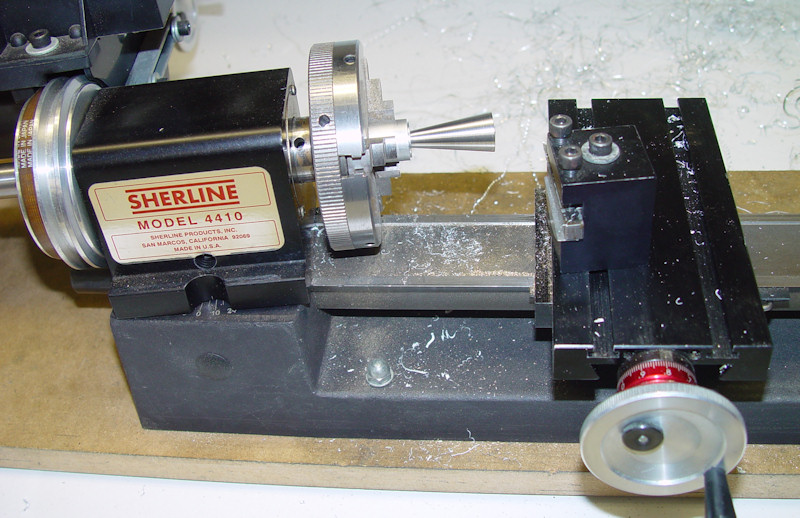
While the lathe headstock is at the same angle, I cut a rod of aluminum.
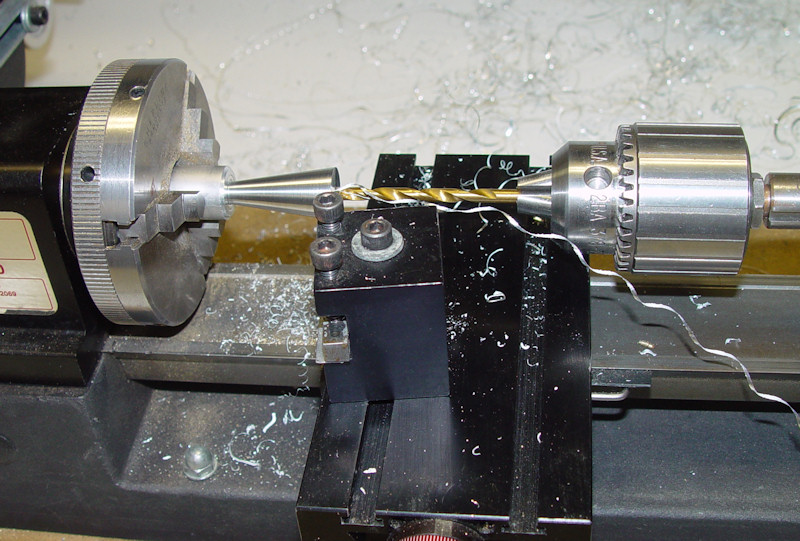
Then drill it to the proper diameter, so the recess plug from the fins tip can fit in.
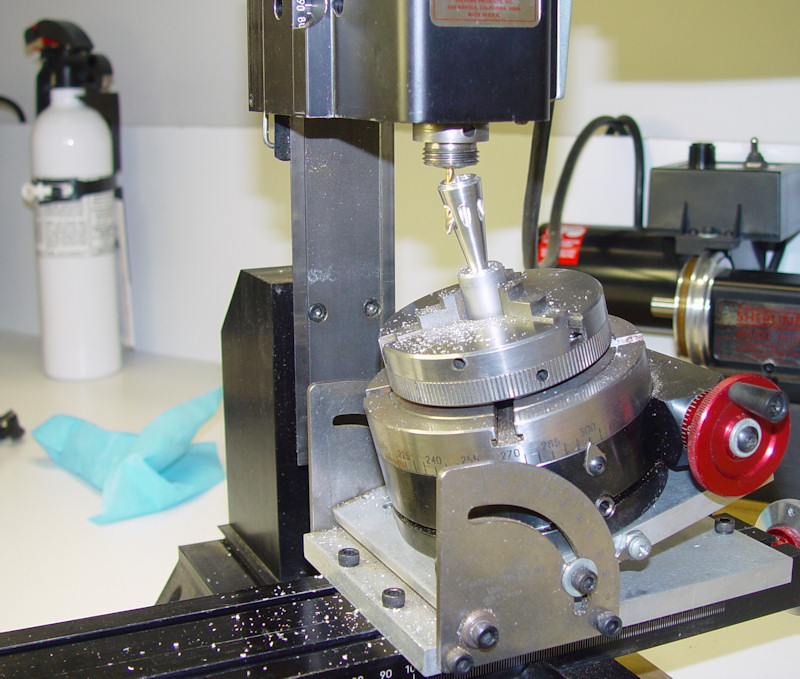
I then go to the mill, and drill some exhaust holes. Just in case they'll be needed later.
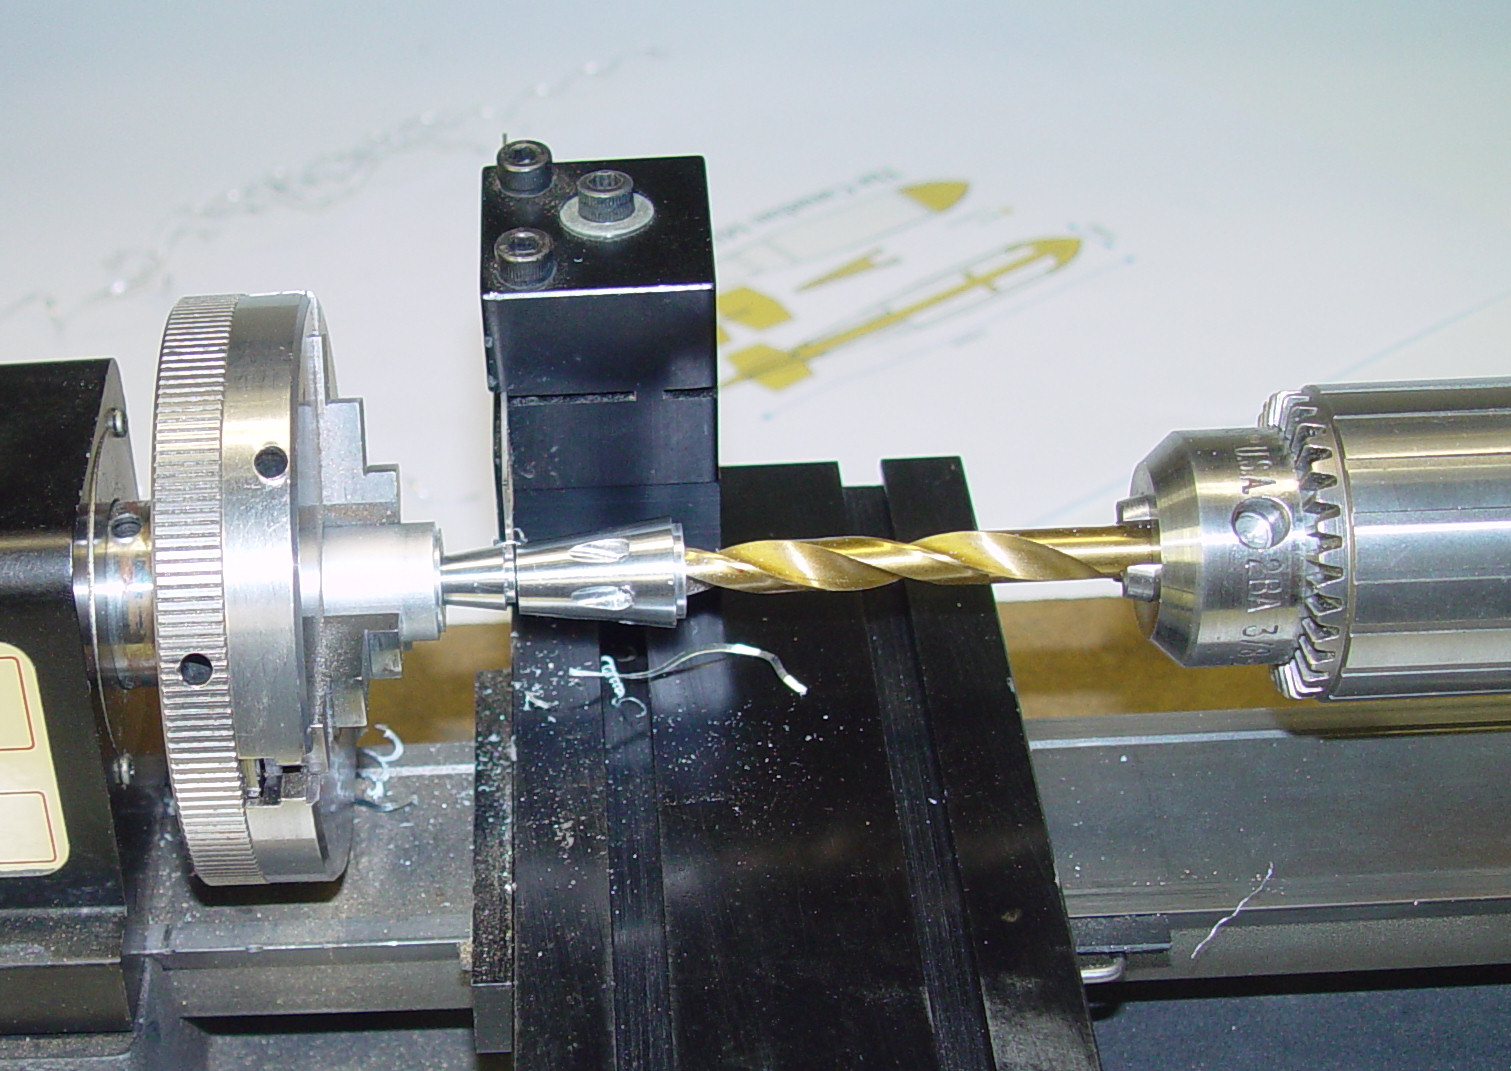
back to the lathe, the piece is cut to the proper length so the diameter at the cut match the fins tip.
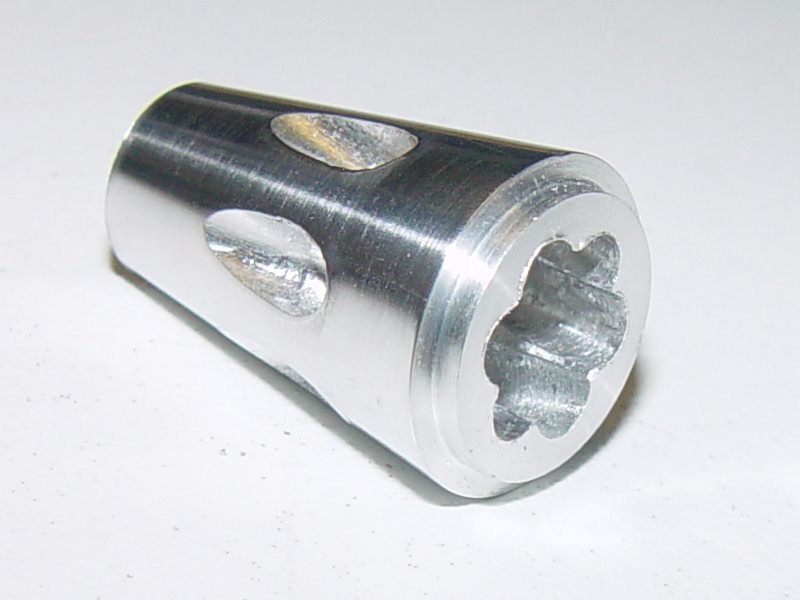
Final piece.
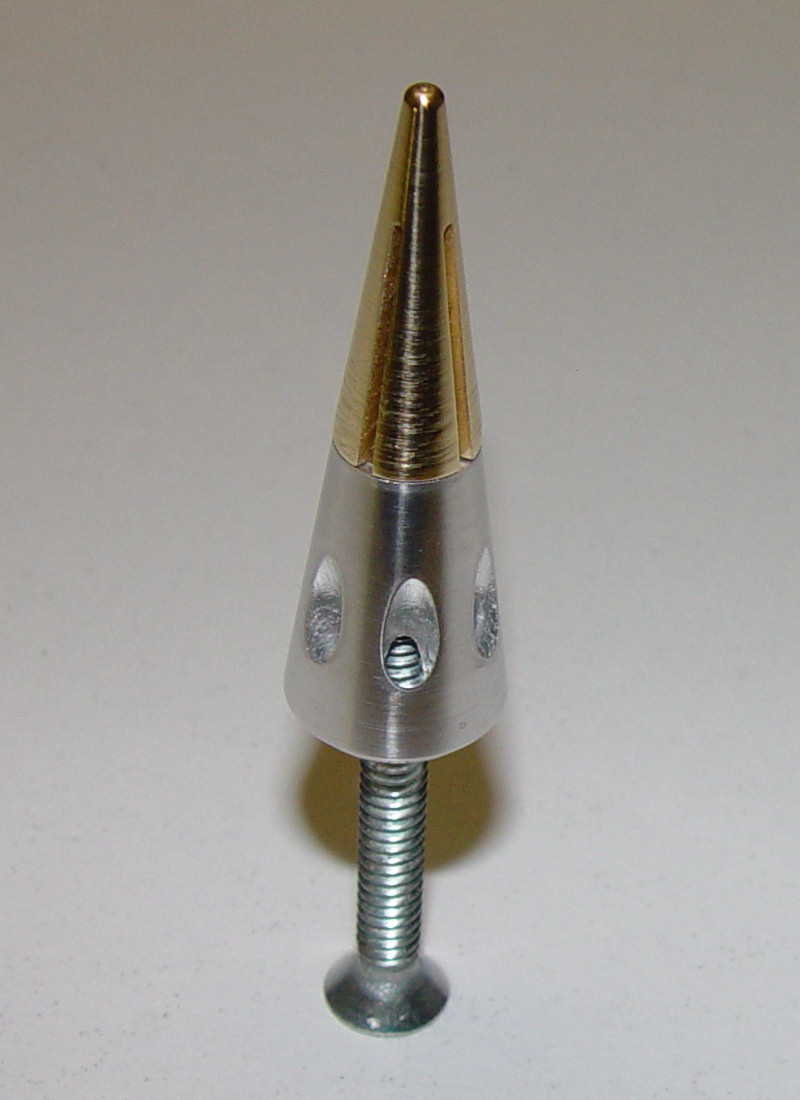
It match the fins tip quite nicely.
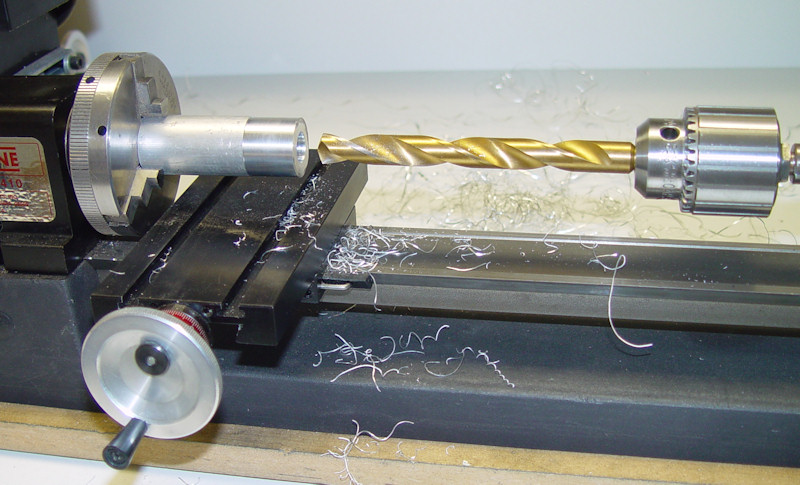
I machine the body part from a 1" aluminum rod, drill it with a 1/2" drill bit (starting from a much smaller diameter and increasing step by step)

then I make a little recess to install the nose, fixed in place with a long threaded rod that goes through the chuck, and turn to the exact same diameter both parts.
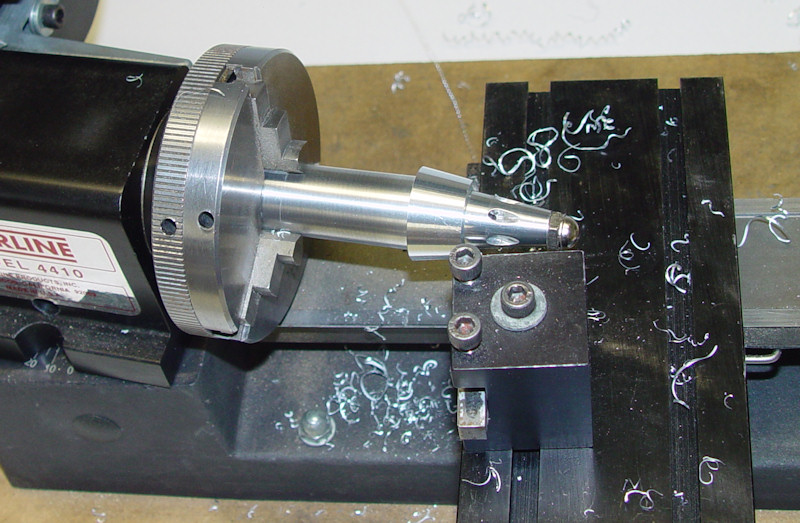
same operation for the tail, after turning the body 180°, I machine a cone at the same angle...
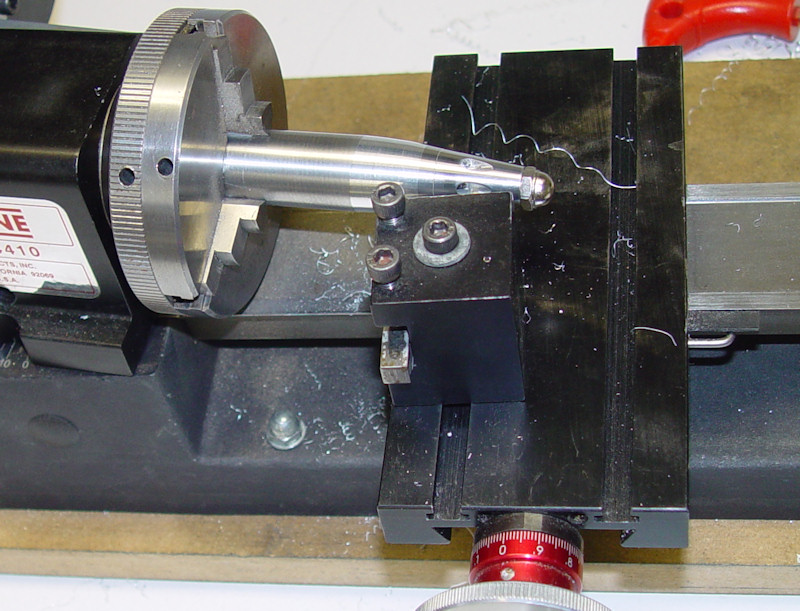
... and repeat the cut and different angles to approximate a rounded surface.

After a bit of sanding, the body is completed.
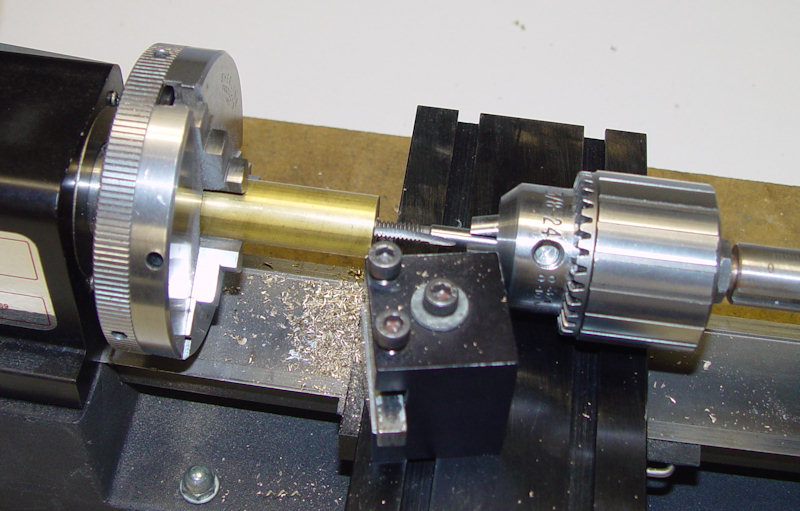
I need a couple of nuts to make an internal separation for the weight. Sure a couple of standard 10-24 nuts and a washer could do... but why not go fancy and make my owns? The brass rod is drilled, then threaded.
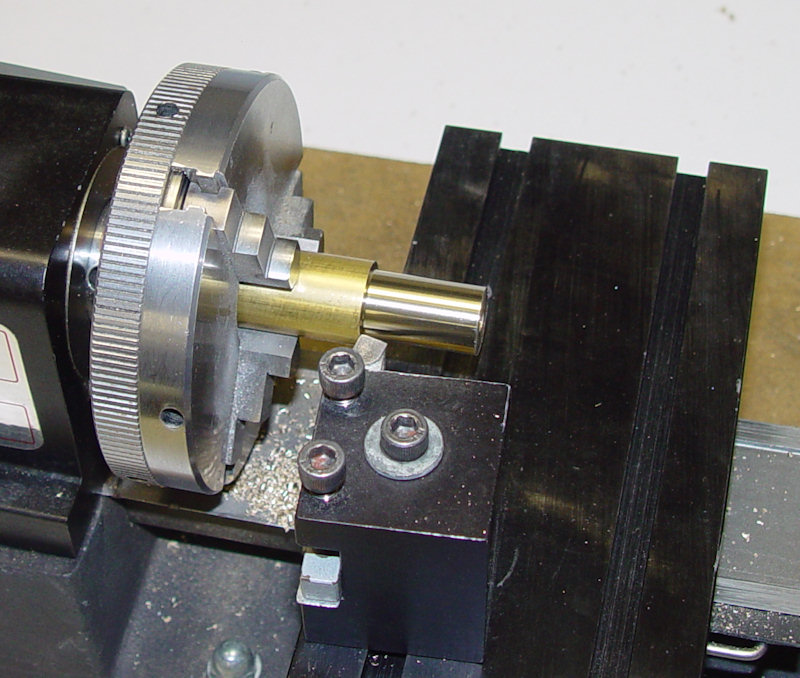
And turned to exact diameter.
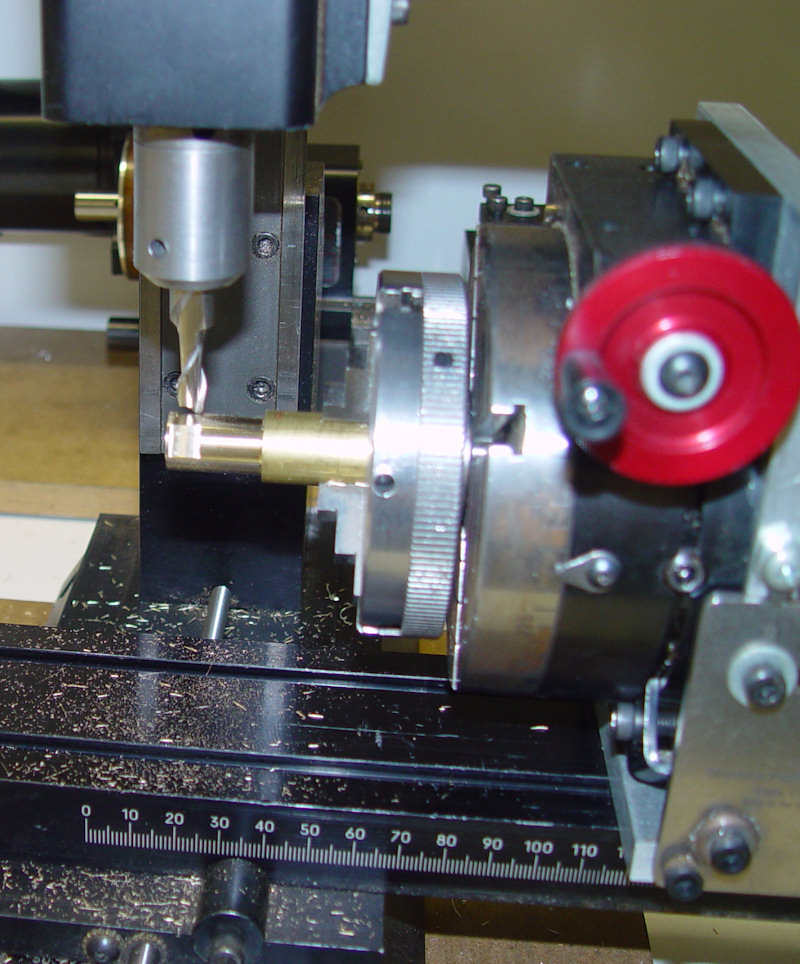
On the mill, I cut some flats.
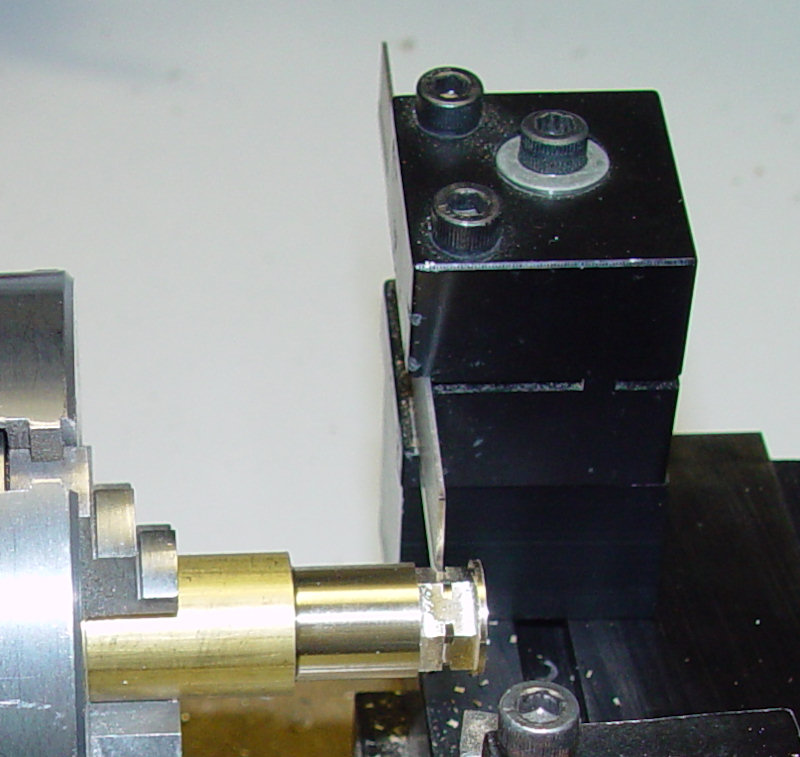
Then separate the nuts on the lathe using a cutting tool.

Done.
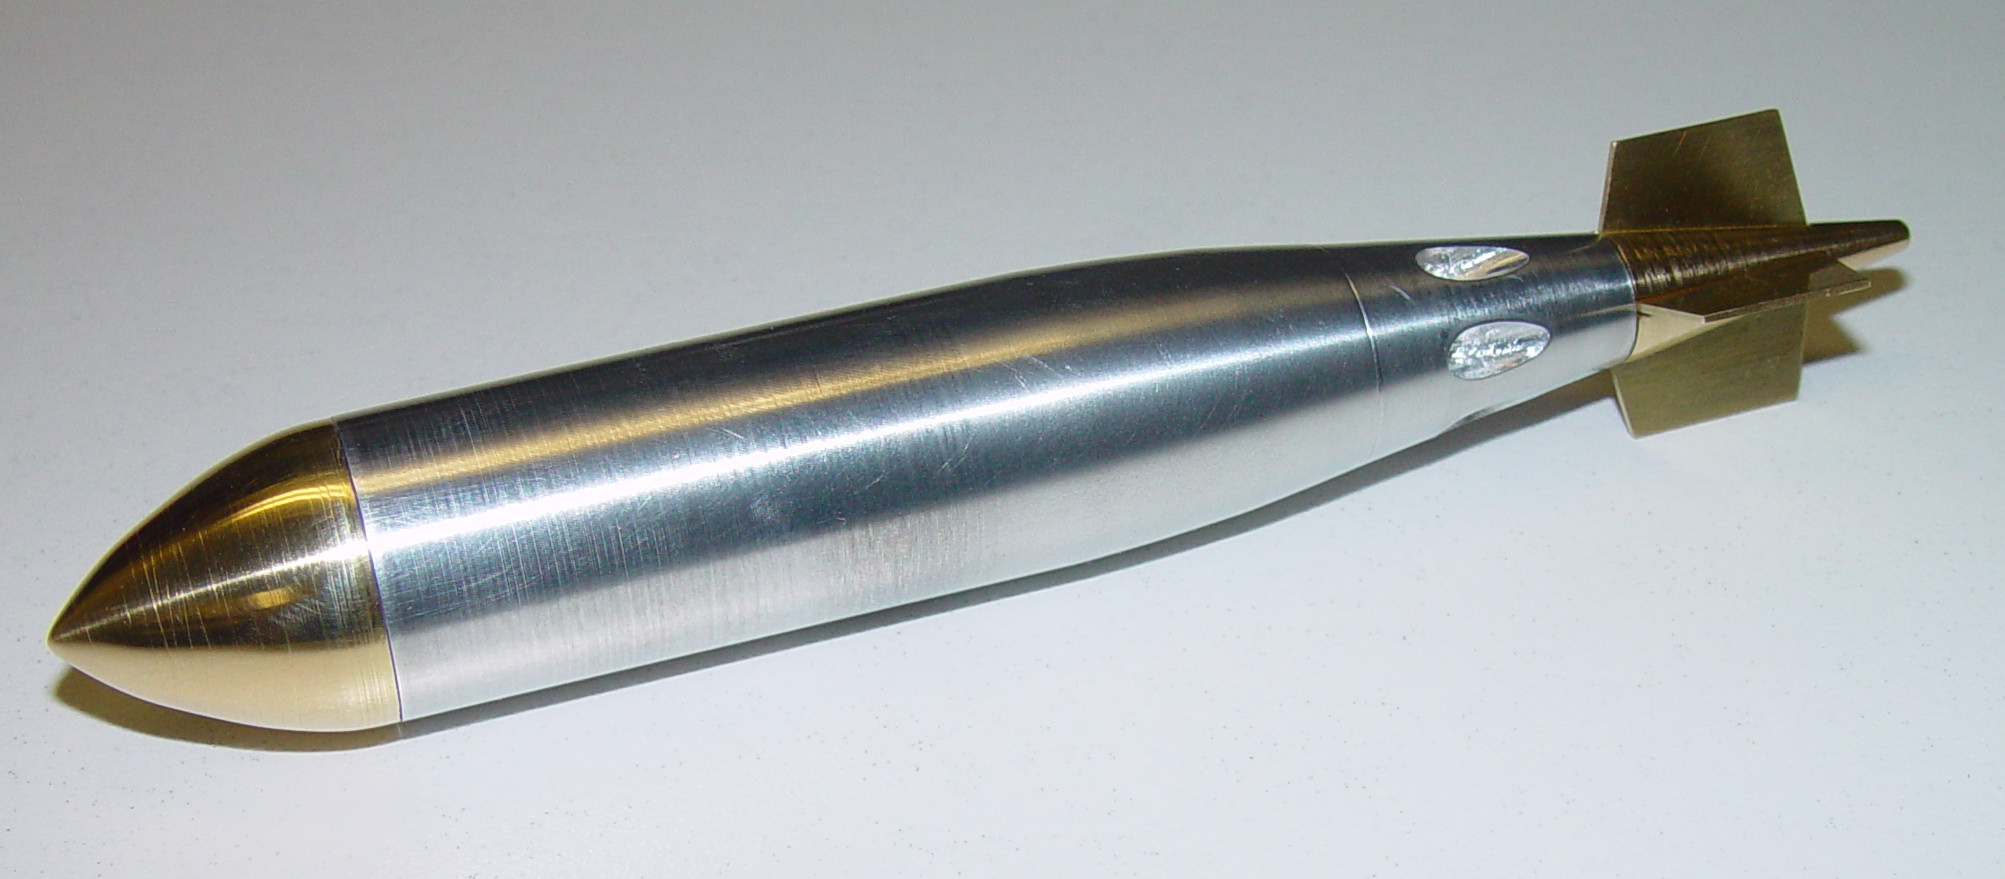
Here's the final result

For scale

And the various parts
My equipment are Sherline lathe (long bed) and mill. I'll be happy to try to answer any question about it, or the machining process demonstrated here. Note that I am in no way a machinist by trade, I learned by myself. So if some experienced machinist here want to share his knowledge and correct me, please do so
If you have remarks about the missile itself, please share your thoughts in the original thread, not in this howto.
I will roughly follow this plan, scale = 1 pixel for 1/10mm.

I often use this scale trick, So I can print what I want scale 10x, and just measure the sizes on paper with a simple ruler at a 10x enhanced precision (1cm=1mm)

The nose is cut for a 3/4" brass bar. First, drill a hole (oops, forgot to put the macro mode on

Then, tap the hole. I do that by hand as I do not have power attachment for threading. I just turn the lathe chuck by hand, pushing the tailstock that hold the tap at the same time so it goes strait in the hole.

While the brass rod is still perfectly centered, I remove the chuck and put it on the mill's rotary table. So I can remove some brass, to be able to fill it with heavier material later (lead or tungsten?)

back to the lathe, I separate the proper length for the nose, using a cutting tool.

Using a compound slide to cut at an angle, I approximate the cone. Simple trigonometry gave me 3 angles, from the original drawing. To hold the nose, I just used a screw and a nut to old it. This is why the drawing was designed like that, I already had in mind the way to hold and cut with minimal efforts

A bit of sanding, and the nose is ready.

For the fins, I will use the mill. Often when I cut on the mill, I machine behind a sheet of Lexan. In particular when I use saws. Better be safe...

To make the fins, I use some brass flat stock. First sliced on the mill.

I mill it strait on all sides, both pieces at the same time.

Then I slice the interlocking groove.

A bit of sanding to make then look pretty while they are easy to handle separately.

I assemble them, gently taping with a plastic hammer.

Then I cut the same angle on all sides to mimic the original drawing.

A bit more sanding, and the fins are ready. I may make then a bit more aerodynamic by removing this square edge later.

The fins tip (is there a proper name for that?). A rod if first drilled and taped on the lathe (same process as for the nose). Then a cross slice is cut on the mill.

I decided I needed a reduced diameter, to increase rigidity. It would have been better planning to cut it before I made the slicing. Oh well...

The cone is cut, this time by rotating the headstock.

A bit of polishing, and it's ready for assembly 8)

While the lathe headstock is at the same angle, I cut a rod of aluminum.

Then drill it to the proper diameter, so the recess plug from the fins tip can fit in.

I then go to the mill, and drill some exhaust holes. Just in case they'll be needed later.

back to the lathe, the piece is cut to the proper length so the diameter at the cut match the fins tip.

Final piece.

It match the fins tip quite nicely.

I machine the body part from a 1" aluminum rod, drill it with a 1/2" drill bit (starting from a much smaller diameter and increasing step by step)

then I make a little recess to install the nose, fixed in place with a long threaded rod that goes through the chuck, and turn to the exact same diameter both parts.

same operation for the tail, after turning the body 180°, I machine a cone at the same angle...

... and repeat the cut and different angles to approximate a rounded surface.

After a bit of sanding, the body is completed.

I need a couple of nuts to make an internal separation for the weight. Sure a couple of standard 10-24 nuts and a washer could do... but why not go fancy and make my owns? The brass rod is drilled, then threaded.

And turned to exact diameter.

On the mill, I cut some flats.

Then separate the nuts on the lathe using a cutting tool.

Done.

Here's the final result

For scale

And the various parts
